동물의 숲 Beginner’s Guide and Tips
This guide will cover everything you need to know when starting 동물의 숲 : New Horizons, regardless of how experienced you are with the series. It covers things you can’t alter once you create your island, how to reroll your island and villagers, how many villagers you can have, and daily activities.
Organizing Your Island and Getting Ready for New Villagers
Remember the following when configuring your island for the first time:
Once you’ve set your island name, you can’t modify it. The entire name of the island will appear when you type it. You do not add the word “island” to what you type.
Once your name and birthday are set at the game launch, they cannot be changed.
Make sure you have access to the features (lakes, rivers, etc.) you desire with the arrangement of your island because you will be forced to live with it for a very long time. At first, your character cannot cross rivers or climb ledges (lighter colors indicate the map’s elevation), and it takes some time to obtain the traversal tools that will enable you to do so.
You can alter how you look and to customize even more.
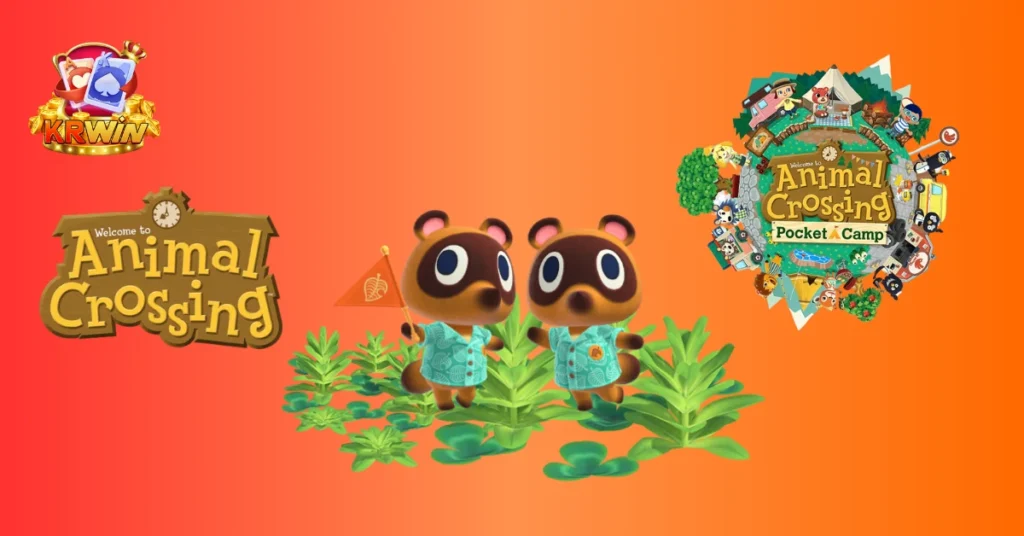
Once your island is ready, two arbitrary creatures included in the trip package—Villagers—will appear. The various Villagers have a variety of personalities, but you will always begin with a male jock and a female uchi character who is akin to a “big sister.”
In addition, you’ll have fruit that grows on your island, such as oranges, pears, peaches, apples, and cherries. You can reroll (or reset) the villagers and your fruit if you’re unhappy with them. Just quit the game by shutting down the program. Recall that you forfeit your island layout if you decide to start anew. When you reroll, you’ll get new villagers in addition to changing default clothing and fruit. You’ll also have to reread all of the introductory questions.
How Many Villagers Can You Have in ACNH
You will start your deserted island adventure with two residents, and each island community can have up to ten distinct types of villagers that will call it home.
All Potential Starting Villagers in 동물의 숲
Uchi Villages
Jock Villages
Agnes
Antonio
Canberra
Axel
Charlise
Bam
Cherry
Biff
Deirdre
Bill
Diva
Billy
Flo
Boone
Frita
Boots
Fuchsia
Buck
Hazel
Bud
Katt
Coach
Mira
Cobb
Muffy
Cousteau
Pashmina
Curly
Paula
Drift
Phoebe
Flip
Plucky
Frobert
Renee
Genji
Reneigh
Goose
Rocket
Hamlet
Shari
Iggly
Sylvia
Jay
Tammy
Jitters
Ursala
Kevin
Kid Cat
Kody
Leonardo
Louie
Lyman
Mac
Moose
Mott
Peck
Pierce
Poncho
Ribbot
Roald
Rod
Rory
Rowan
Rudy
Samson
Scoot
Sheldon
Sly
Snake
Sparro
Sprocket
Streling
Stinky
Tad
Tank
Teddy
Tybalt
How to Spend Your Initial Days
Once you’ve completed the first orientation of 동물의 숲 “day,” which consists of sleeping after the welcoming party, the island is yours. Tom Nook will provide more focused tasks that will gradually show you how to improve your island. Even though it could start small, your place has the potential to develop into a thriving small community. To advance, keep following up with Tom Nook once you’ve finished chores. You can also contact him if you need clarification on what to do.
To strengthen your bonds with the other Villagers, converse with them. Although you can’t actively monitor your progress with them, you’ll know you’re making progress when, after a few days, you get the opportunity to give them gifts. They frequently give you items back in exchange!
Unlock the Tools
동물의 숲 : New Horizons does not include every tool you need to explore your island. This is a brief instruction on unlocking them; for more details, go to the respective Tools instruction pages for each.
Fishing Rod and Bug Net:
For his do-it-yourself workshop, contact Tom Nook in resident services.
Slingshot:
Timmy’s Homemade Recipe.
Stone Axe:
Give Tom Nook a minimum of two fish or bugs.
Watering Can:
For Tom Nook, fill the watering can with at least four insects or fish.
Shovel and Vaulting Pole:
Give Tom Nook five fish or bugs, and when he gets there, talk to Blathers.
Ladder:
This is a late addition. Continue doing as Tom Nook says and settle your loan for the tent.
Maximizing Your Island’s Potential: Essential Resource Gathering Strategies
In addition to earning you Nook Miles, the new achievement-based currency, gathering resources will help you prepare for upcoming tasks. You’ll need materials like branches from trees and rocks to construct your first tools. Tools’ initial level breaks rather regularly; therefore, you’ll need many resources to continue. Timmy can sell you some making tools if you run out of supplies.
To make the most of your island as soon as possible, we suggest completing the following resource gathering tasks:
Get rid of weeds close to tree bases. If too many cover the ground, items that need to fall there will bounce far away or disappear entirely.
Holding a bug net, shake trees from the front (certainly not the back). Wasps occasionally fall from trees, and if you’re facing a tree when one drops, you can grab the wasp by pressing “A” as soon as your character’s stunned state ends. The simplest method for catching them is this. You risk unintentionally hitting the tree and getting stung if you’re behind it. Another way to avoid wasps is to flee into a nearby building. However, wasps fetch a high price in Bells, so you’ll want to catch them! If you get stung, you can make your own medicine using a wasp nest and three weeds by talking to another resident or buying it from Timmy. Sometimes, you’ll find tree limbs, an object, bells, or fruit hanging on the tree if you don’t find any wasps!
Establishing an Orchard and Harvesting Materials
Establish an orchard! After you’re equipped with a shovel, plant additional fruit trees using some of the fruit you’ve been sent or collected. Make a hole where you want the tree planted, then turn your shovel to face the hole and choose the fruit you want to plant. One of the options will say “Plant 1.” This stage is crucial, but it’s more about future-proofing your island for additional resources than acquiring new ones. Fruit from other islands will fetch much higher prices in Bells, so if you can establish a sizable Orchard, you’ll have a very lucrative side business!
Make a cheap axe and begin hacking away at trees! To get wood, you can strike each three times. Normal wood, hardwood, and softwood are all available. You’ll need all three for various purposes in the upcoming days, so stock up!
Use a shovel to strike rocks, but do so carefully. Take a position close to the rock. First, excavate a hole directly behind you, then one to your right or left. This may seem foolish, but by doing this, you can make sure that when you hit the rock with a shovel, you won’t push yourself too far away from it. You will only receive resources from the rock if you strike it repeatedly and swiftly enough. As needed, get closer to the rock. If you’re very fortunate, you might find gold nuggets in addition to clay, stone, and iron nuggets! Each rock can yield up to eight different goods for you to obtain. Visit KRwin to read more blogs like this and don’t forget to claim your bonus.